5 minutes
Creating Your Own Discord Bot
Introduction
Have you ever seen a bot in a random Discord server and felt like you wanted to create your own Discord bot? Creating and running a Discord bot is actually pretty simple and straightforward. Note that in this post, I will be using Eclipse and JDA to create a bot in Java. Furthermore, it assumes that you are a Windows 10 user. Since there are many online resources on how to install Java and Eclipse, I won’t go into depth in that regard.
Setup
Setting up your IDE
First things first, you need to make sure you have the right JDK version installed and the JAVA_HOME environment variable properly set. If you don’t, or are not sure how to do those things, please check out this page. Once you have done it, we can proceed to the next step which is installing Eclipse and setting it up, so that we can start to code. For that, simply download the latest version of Eclipse here and install it.
As soon as the installation finishes, you can set your workspace, which is just a folder where your projects will be created. If you don’t have any folder in mind, I recommend creating a folder in your desktop and using it as your workspace so you don’t lose sight of your Java projects.
At this point, you are most likely greeted by this screen:
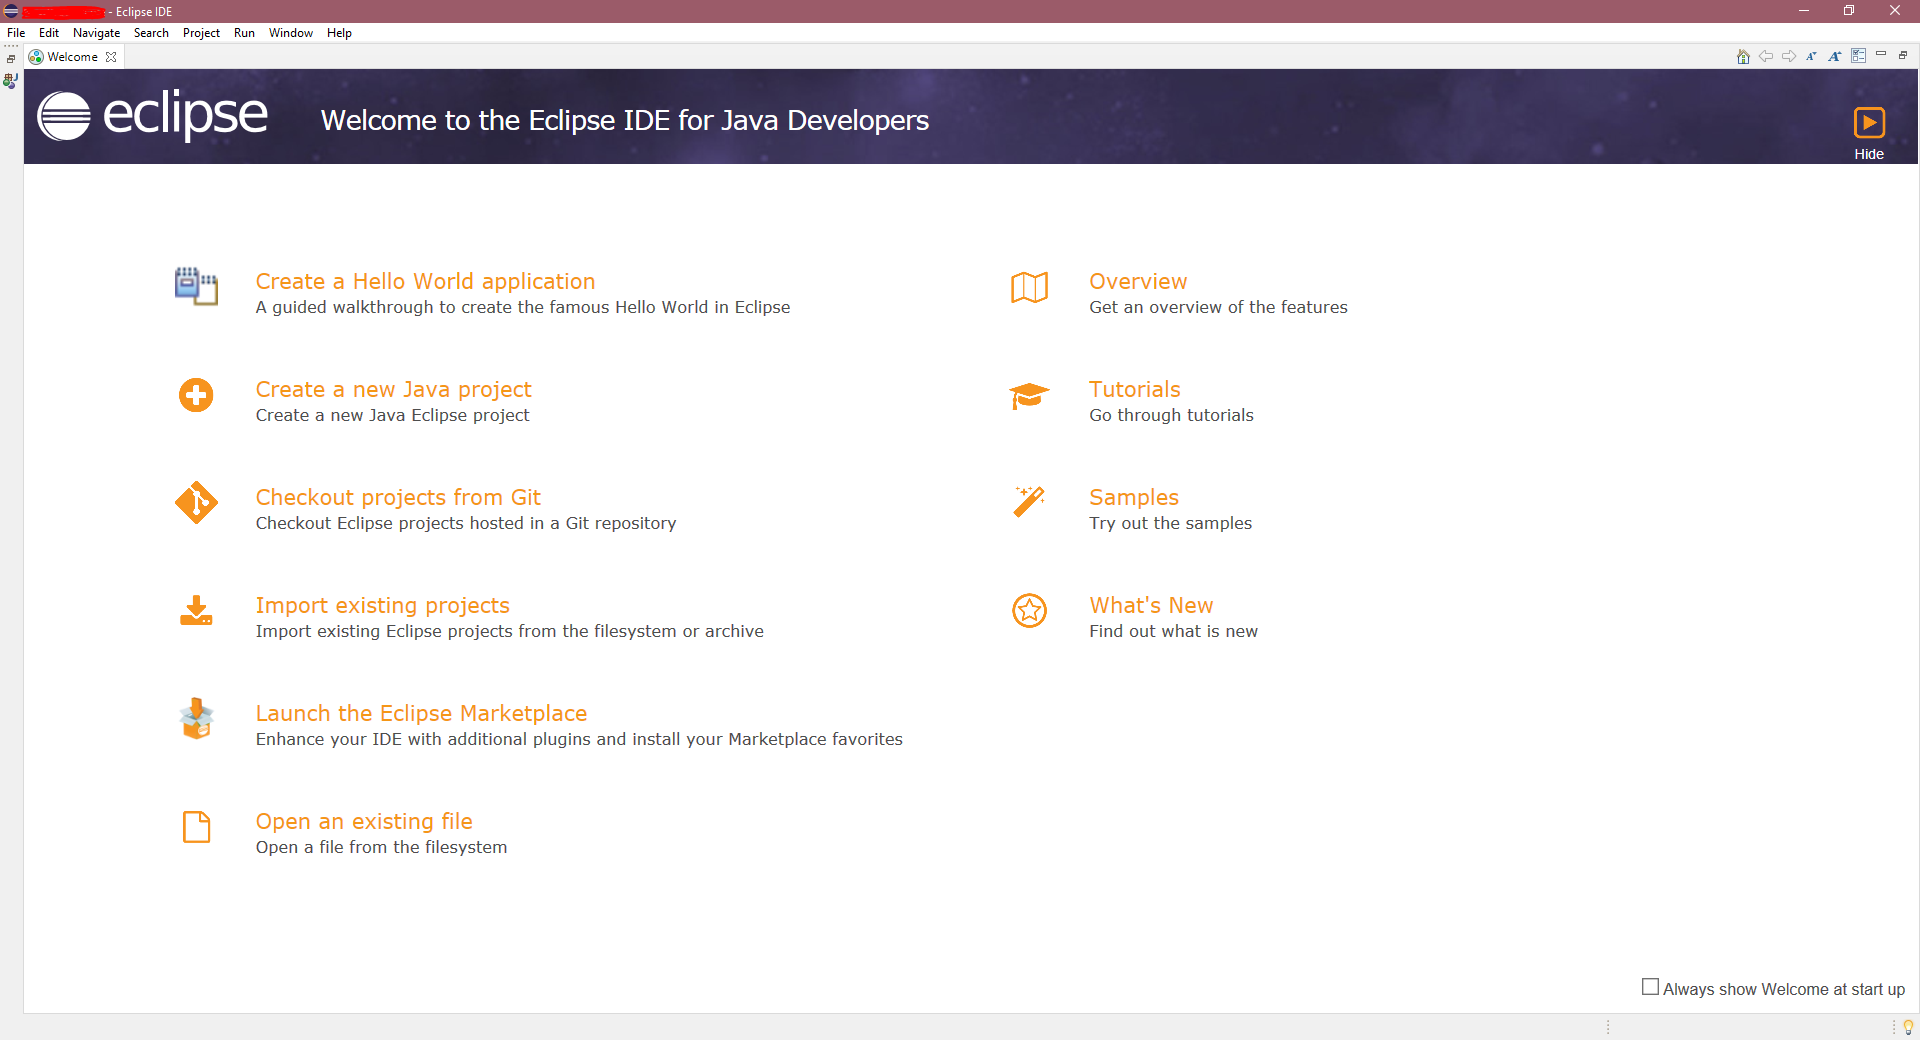
Since the brightness is causing damage to my eyes, we will change the appearance of Eclipse to dark mode. This can be done by going to Window > Preferences > Open the dropdown under General > Appearance and selecting Dark under Theme. With that out of the way we are now all set to start coding.
Creating a project and setup
In the screen we have seen before we can simply click on File > New > Project.... A small window should appear where we can select the project build. Note that you can use either Gradle or Maven for our Discord bot, it doesn’t really matter for a simple project such as our bot. In this post I will go with Maven, so you open the dropdown under Maven and select Maven Project. Click on Next, tick the first two options and click on Next again.
Now we are on the page where we have to choose a Group Id and an Artifact Id for our Maven project. Simple choose an username as the Group Id and the name of your bot as the Artifact Id. You can fill the remaining fields however you want as they don’t really matter for now.
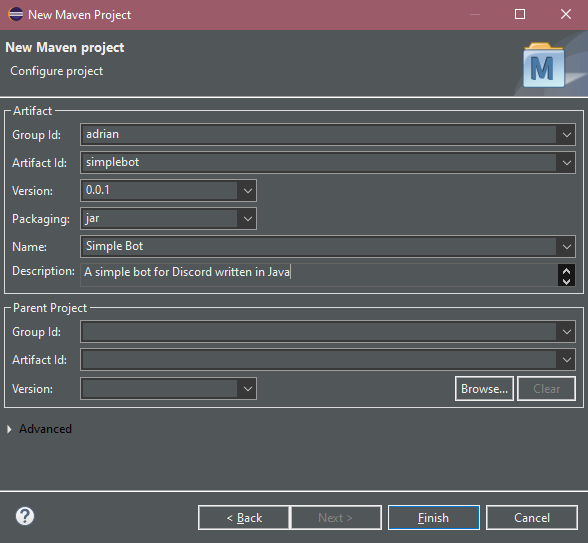
Now click on Finish and you should see your project appear in the package explorer which is on the left side. Maybe you can also see at the bottom that your project is being built. Simply wait a few seconds for the process to finish. Your project should now look like this:
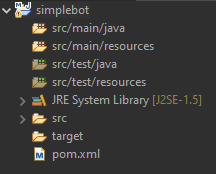
As you might have noticed, we got a few warnings from the compiler. The issue can be fixed easily by opening our pom.xml file and adding the following snippet below the <description> tag:
<properties>
	<maven.compiler.source>16</maven.compiler.source>
	<maven.compiler.target>16</maven.compiler.target>
</properties>

<build>
	<plugins>
		<plugin>
			<groupId>org.apache.maven.plugins</groupId>
			<artifactId>maven-compiler-plugin</artifactId>
			<version>3.8.0</version>
			<configuration>
				<source>16</source>
				<target>16</target>
			</configuration>
		</plugin>
	</plugins>
</build>
If you don’t have JDK 16 installed, simply replace every 16 with your JDK version.
Once you saved your changes to the file, simply right-click your project, go under Maven > Update Project... and click on OK to build your project. After the process finished all warnings should disappear.
Adding Dependencies
Now we need to add the Java Discord API library, JDA for short, as a dependency to our project. This can be done by adding the following snippet to your pom.xml file just below the </build> tag:
<dependencies>
	<dependency>
		<groupId>net.dv8tion</groupId>
		<artifactId>JDA</artifactId>
		<version>4.3.0_331</version>
	</dependency>
</dependencies>

<repositories>
	<repository>
		<id>dv8tion</id>
		<name>m2-dv8tion</name>
		<url>https://m2.dv8tion.net/releases</url>
	</repository>
</repositories>
After that, you can build the project again so that all the necessary dependencies are automatically added to your project. You should be able to find them under Maven Dependencies in your project folder.
With that we are pretty much done with the setup, and this is where the fun starts.
Creating a Discord bot
Before we are able to program our bot, we need to create a Discord bot account. This can be done by going to the Developer Portal of Discord and then clicking on New Application on the right side. A small window should pop up where you can enter the name of your bot.
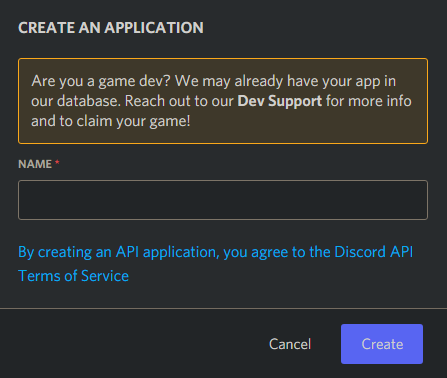
In my case I chose the creative name SimpleBot. In the application page you can jump to Bot and click the button Add Bot. As the name suggests this button creates a bot account.
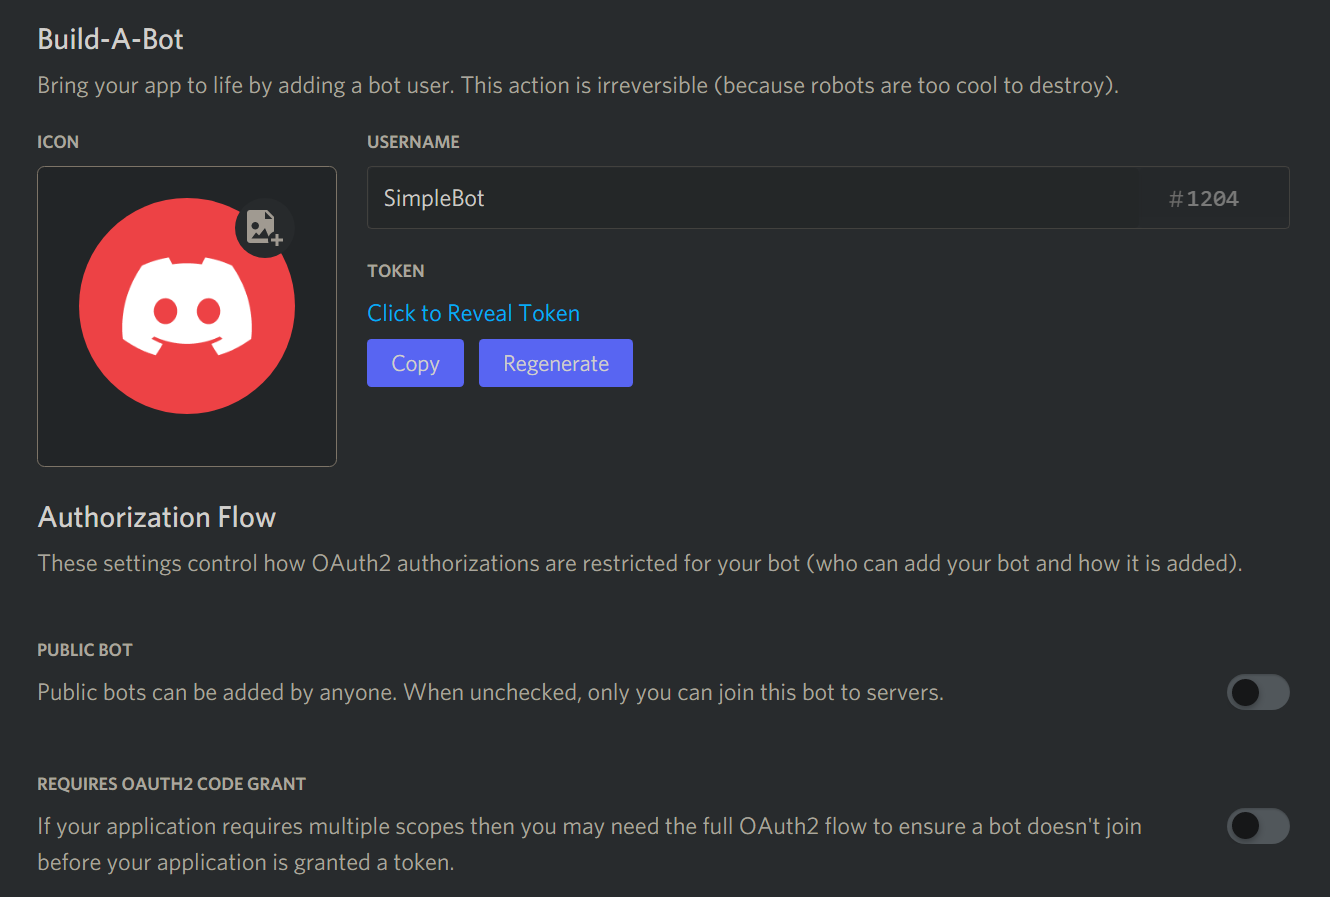
Never share your bot token with anyone unless you really trust them. If you accidentally leak your token, make sure to generate a new one by clicking on Regenerate.
To invite the bot to your server, simply use this link and replace BOT_ID with the id of your bot:
https://discord.com/api/oauth2/authorize?client_id=BOT_ID&permissions=0&scope=bot
Coding the bot
Creating a bot instance
JDABuilder builder = JDABuilder.createDefault("BOT_TOKEN");
JDA jda = builder.build();
Right now, our bot can’t do anything except going online and offline. For it to be able to react to commands or messages in general we need to implement an EventListener.
Listening to events
The backbone of a Discord bot is the ability to listen to various so-called events, for example when an user sends a message in a channel, the bot will receive a MessageReceivedEvent and thus can react to the message. But for that, we need to create an event listener, i.e. a class for the purpose of receiving events.
In our project, we want to create a class called EventListener which extends ListenerAdapter:
import net.dv8tion.jda.api.hooks.ListenerAdapter;

public class EventListener extends ListenerAdapter {

}
Now we need to override a method called onMessageReceived from ListenerAdapter, so that it suits our needs.
import net.dv8tion.jda.api.hooks.ListenerAdapter;

public class EventListener extends ListenerAdapter {

	@Override
	public void onMessageReceived(MessageReceivedEvent event) {
		event.getMessage().reply("I received your message!").queue();
	}
}
In this example, we changed our method to make our bot reply to each message with “I received your message!”.